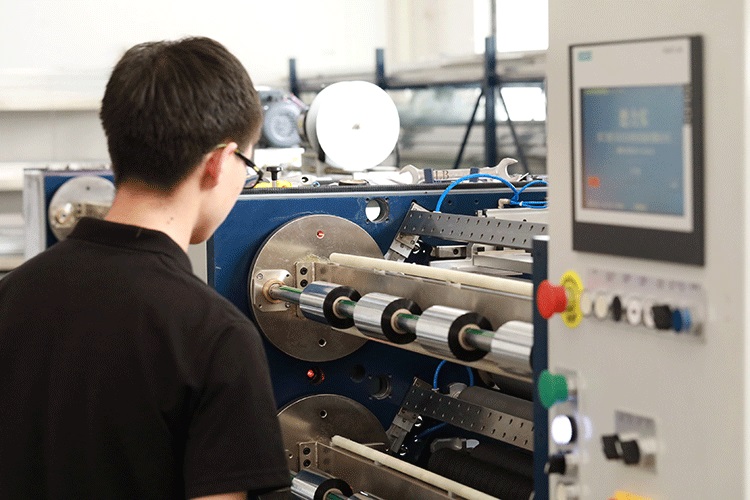
The ribbon slitting machine is a key piece of equipment in the production of heat transfer consumables, and its operating precision directly affects the quality of ribbon slitting. If not properly calibrated before operation, issues such as slitting misalignment, edge burrs, and uneven winding can easily occur. Many beginners find the calibration process complicated, but once you master the core steps, it's not difficult. The following three steps will help you efficiently achieve precise calibration before the ribbon slitting machine starts up.
Step 1: Tension system calibration
Tension control is the primary guarantee for slitting performance. Ribbon materials are relatively thin and easy to stretch; excessive tension can cause ribbons to deform or even break, while too low tension leads to loose rewinding and uneven end faces.
Specific steps:
1. While the equipment is standby, a test ribbon about 1 meter long is wound along the normal path around the rollers and retractor reels.
2. Start the equipment in manual mode and run the ribbon segment at low speed (recommended 10-20 meters per minute).
3. Check whether the ribbon surface is smooth and wrinkle-free. If wrinkles appear, gradually reduce the winding tension; If the ribbon shakes or drifts during operation, appropriately increase the winding tension.
4. Adjust until the ribbon is uniformly and steadily along the entire path, with no slippage or tension, then record the tension parameters at this point as the reference value for the batch.
Note: Ribbons of different widths and thicknesses require different tensions; after changing materials, tension must be recalibrated.
Step 2: Alignment calibration of the tool system
Tool position determines the slitting width and edge straightness. If the tool is slightly offset, it can cause dimensional deviations; if severe, it can damage the blade or roller.
Specific steps:
1. Load standard round test paper or discarded carbon ribbons onto the equipment, with a width greater than the material to be slit.
2. Place all blades in the initial unlocked state, use a tape measure or vernier caliper, starting from the fixed reference edge of the equipment (usually the operating side baffle), and position the first and second blades according to the slitting widths specified by the process sheet.
3. After locking the blade, run a test material at low speed. After stopping, measure the actual width of each strip slit. If the deviation from the actual value exceeds ±0.5mm, release the tool holder for fine adjustment and repeat the measurement.
4. After confirming all slitting widths are qualified, perform horizontal calibration of the overall tool holder—check whether the blade is completely parallel to the roller busbar; otherwise, adjust the tool holder angle.
Tip: Every time you change blades or change slitting specifications, you must re-calibrate the center.

Step 3: Calibration of the photoelectric sensor and the meter length
Positioning accuracy and length consistency are key indicators for finished ribbons, especially for ribbons with printed or skip printing.
Specific steps:
1. Clean the photoelectric sensor lens to ensure it is free of carbon powder and dust obstruction.
2. Use the sensor test function to detect signals at the edge of the ribbon or on pre-printed marking lines: move the ribbon slowly and observe whether the sensor indicator light is accurately on or off at the marking. If the signal is unstable, adjust the sensitivity knob or sensor sensing distance until the output signal is clear and crisp.
3. Perform length calibration: Cut a standard length (e.g., 10 meters) of carbon ribbon and use a steel ruler to measure the actual length. If there is a deviation (for example, the device displays 10 meters but is actually measured at 9.98 meters), enter the device parameter interface and adjust the "number of pulses per meter" or "perimeter coefficient" to ensure the displayed length matches the actual length. Usually, 2-3 times is enough to achieve proper calibration.
Special reminder: Different colors (black, white, colored) ribbons have varying reflectivities. After changing the ribbon type, it is recommended to retest the sensor status.
Verification after calibration
After completing the above three steps, it is recommended to trial cut a small piece of real production material. Check the following items:
• Ensure the trimming is neat, free of burrs and sticking
• Ensure the widths of each strip are consistent and meet tolerance requirements
• Check whether the winding end face is flat, with no obvious tower shape or misalignment
• Check whether the length of each roll is accurate, with errors within the allowable range
Only after passing the trial cutting can formal mass production begin.
Summary
Pre-operation calibration of the ribbon slitting machine boils down to tension control, tool positioning, and sensor adjustment. These three steps are closely linked; any one step is inadequate will affect the final product quality. Developing the habit of strictly following calibration after every startup or material change not only improves yield rates but also extends the lifespan of blades and equipment. Remember: Three-minute calibration saves half a day of rework.
If your workshop has any specific questions about slitting tension or tool wear assessment, feel free to leave a comment and share your thoughts.
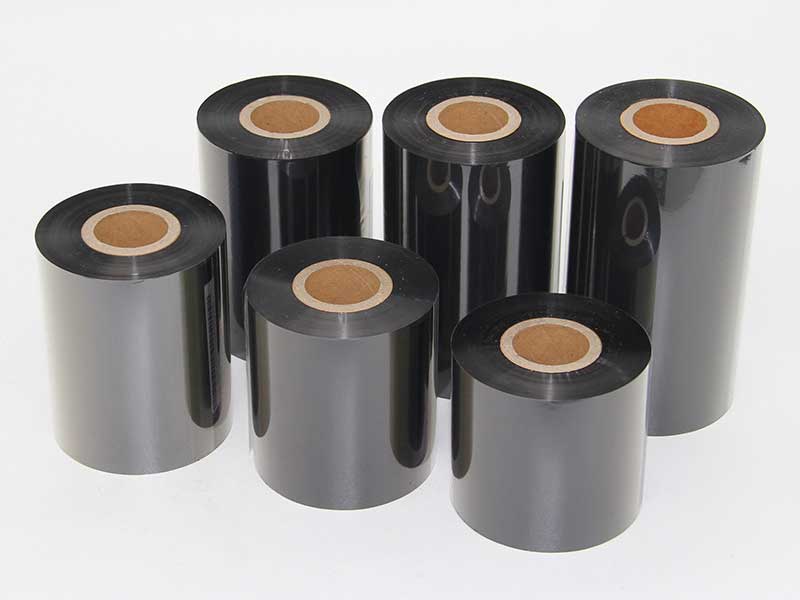
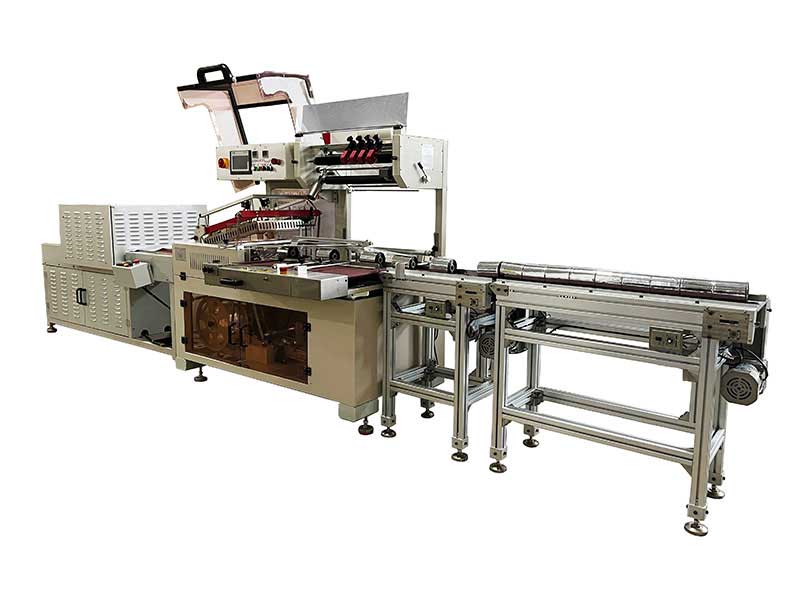 Thermal Transfer Ribbons Packaging Machine
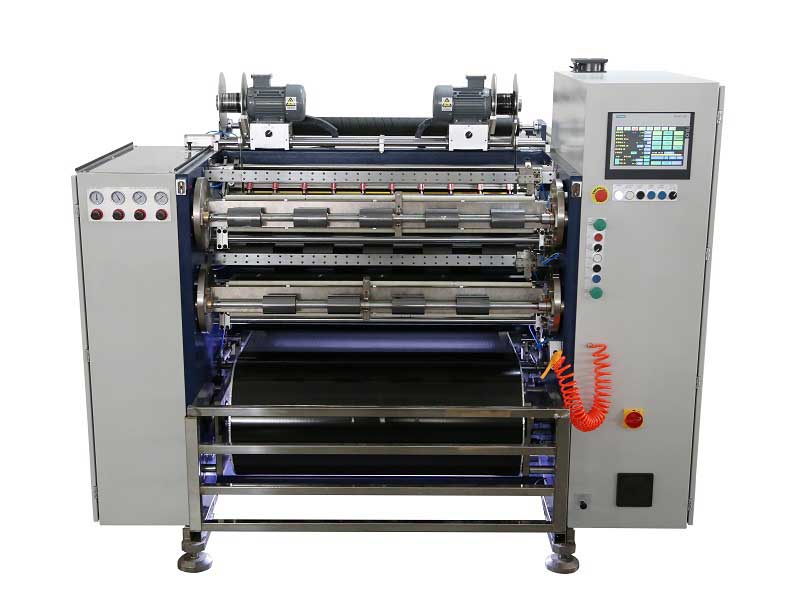 Automatic Thermal Transfer Ribbon Slitting Machine RSDS8 H PLUS
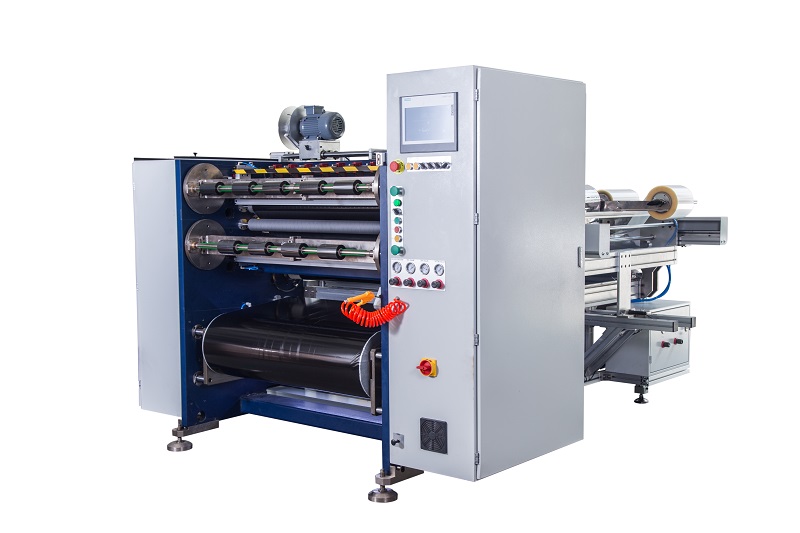 Semi Automatic Thermal Transfer Ribbon Slitting Machine RSDS5 PLUS
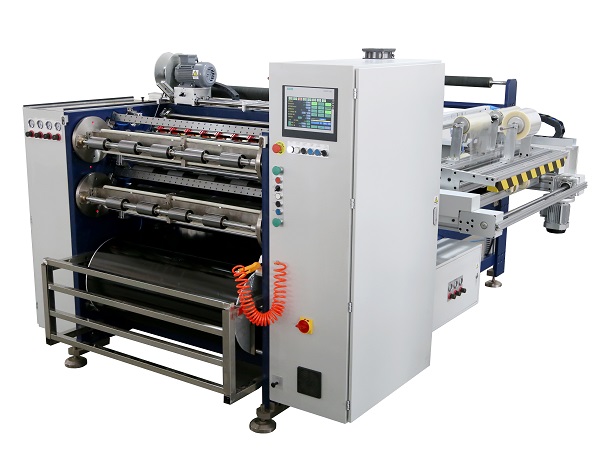 Automatic Thermal Transfer Ribbon Slitting Machine RSDS8 PLUS
 Barcode Ribbon Slitting Machine
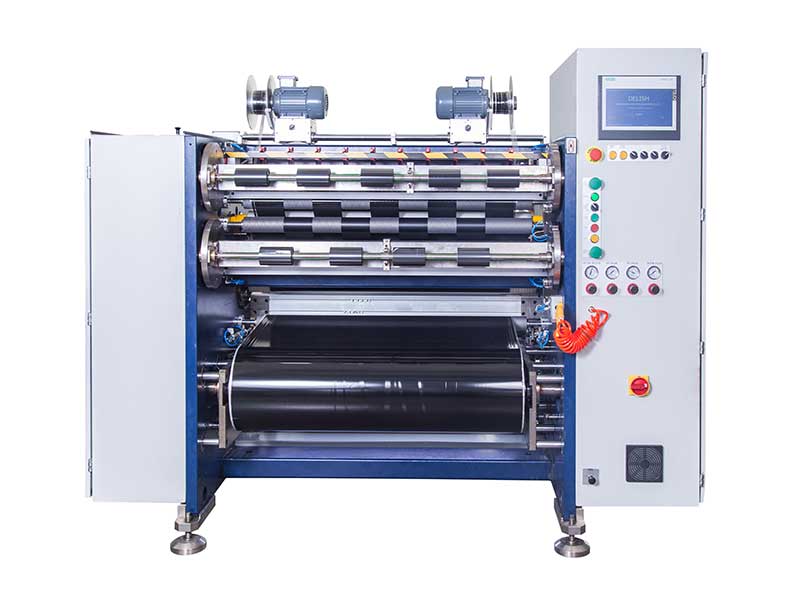 TTR Slitting Machine
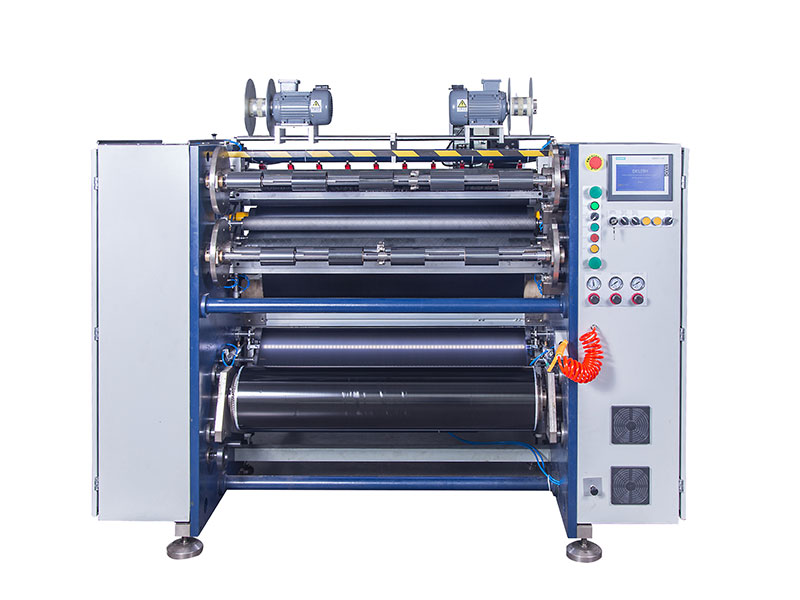 Ribbon Slitting Machine
 Semi Automatic Thermal Transfer Ribbon Slitting Machine RSDS1 PLUS


 +86 135 9951 7291
 support@delishmachine.com