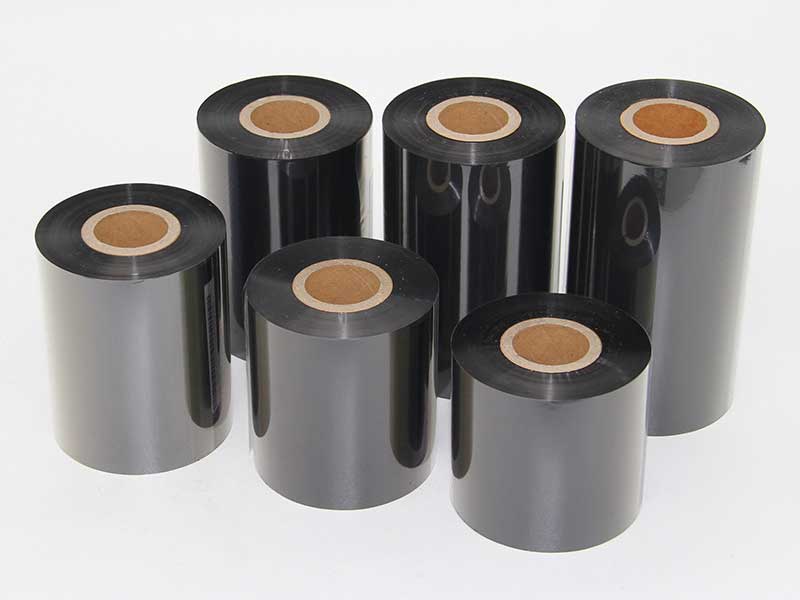
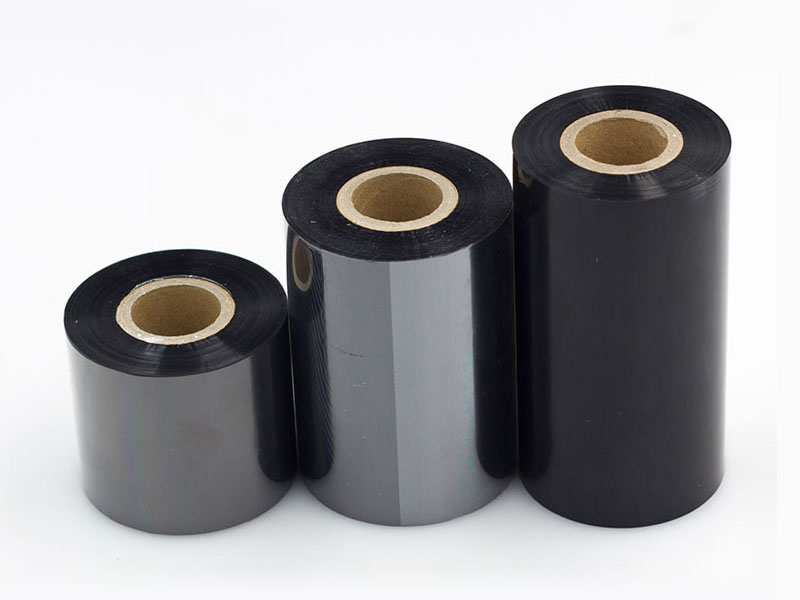
In the production and processing of heat transfer ribbons, slitting is a crucial step. The quality of slitting directly determines the printing effect and usage stability of the finished ribbon. However, "uneven slitting edges" is a tricky problem often encountered by many manufacturers—manifested as ribbon edges featuring jagged edges, burrs, wavy shapes, or uneven widths. This not only affects aesthetics but can also cause tape misalignment, tape clips, or even damage to the print head during printing. This article systematically analyzes the common causes of uneven slitting edges and provides targeted solutions.
1. Cause analysis
Uneven slitting edges are usually the result of multiple factors acting together, which can be summarized into four main categories: equipment, cutting tools, materials, and operations.
1. Equipment accuracy and condition issues
• Spindle or rewinding shaft runout: Bearing wear, shaft bending, or loose installation, causing radial runout during rotation and uneven ribbon edges with shaft movement.
• Aging or deformation of pressure rollers (rubber rollers): Uneven surface hardness, local wear, or excessive cylindricity of the roller surface can cause lateral displacement or tension fluctuations of the ribbon during clamping.
• Guide roller parallelism imbalance: If the guide rollers are not parallel, the ribbon will serpentine and drift during operation, causing edges to be misaligned.
• Unstable winding tension control system: excessive tension fluctuations or improper winding taper settings cause ribbons to stack unevenly on the winding core, resulting in uneven edges.
2. Slitting tool issues
• Round blade wear or chipping: After prolonged use, the blade becomes dull or develops tiny notches, causing slitting that is no longer "cut" but "pulled off," resulting in burrs or saws.
• Improper upper and lower blade bite: In shear-type slitting, the engagement depth between the upper and lower blades (or round and bottom blades) is too large or too small. If too large, it will cause compression deformation; if too small, it cannot be completely cut.
• Poor shaft parallelism: The mounting shaft where the blade is located is not parallel to the bottom blade shaft, causing the slitting path to shift and the edges to form a wavy pattern.
• Loose blade installation: The blade is not locked on the tool holder, causing vibration or axial movement during high-speed rotation.
3. Characteristics of carbon ribbon materials
• Uneven substrate film thickness: Raw materials themselves have large thickness tolerances and longitudinal streaks. During slitting, thin areas are prone to stretching, while thick parts have high resistance, causing edge fluctuations.
• Poor adhesion or flexibility of ink coatings: Some low-end ribbons have ink layers that are too hard or brittle, causing cracking during slitting, resulting in powder shedding or jagged edges.
• Severe static electricity: The material generates significant static electricity, causing the ribbon to adhere to guide rollers or blades, resulting in irregular pulling.
4. Operation and setup issues
• Unreasonable tension setting for winding: too low tension, loose material misalignment; Excessive tension causes tensile deformation of the material, especially on film-type substrates.
• Slitting speed too fast: The speed exceeds the critical value of the equipment or tools, intensifying vibration and reducing the dynamic stability of the material.
• Uneven pressure on the winding roller: The pressure on the winding core of the roller is uneven, causing one end to be tight and the other loose, resulting in uneven edges.
2. Solutions
To address these reasons, the approach of "first identifying common causes and then addressing them specifically" can be adopted.
1. Equipment inspection and maintenance
• Regularly check the runout of the spindle and winding shaft: Use a dial gauge to measure the runout at the shaft end and center. If it exceeds 0.05mm (depending on equipment accuracy), replace the bearing or correct/replace the shaft.
• Replace or grind the roller: Regrind the surface of the rubber roller to restore its cylindricity; Or switch to highly wear-resistant materials such as polyurethane.
• Calibration of all guide roller parallelism: Use a parallel ruler or laser centerer to keep all guide roller centerlines parallel, with errors controlled within 0.1mm/meter.
• Optimized tension control system: Check tension sensors and controllers to ensure tension fluctuations remain within ±5%; Set an appropriate winding taper (generally 5°-15°) based on the ribbon width and thickness.
2. Tool management
• Regular replacement/grinding of blades: Set tool replacement intervals based on production volume (for example, grinding every 100,000 minutes of cutting), and use professional tools to inspect the edge to ensure no chipping.
• Adjust the upper and lower blade engagement lengths: For common ribbons (thickness 4-10μm), the recommended upper and lower cut engagement for shear slitting is 0.05-0.1mm. Adjustments can be made using feeler gauges or by experience (a thickness equivalent to pressing half an A4 sheet of paper into a gentle touch).
• Correcting the parallelism of the tool shaft: Release the tool shaft holder and use a dial indicator to simultaneously mark both ends of the upper and lower shafts, ensuring a parallelism error of ≤0.03mm.
• Fasten blade mounting screws: After each blade replacement or adjustment, use a torque wrench to tighten it with the standard torque and apply anti-loosening adhesive.
3. Material and process optimization
• Incoming material inspection: Conduct random thickness uniformity checks on each batch of ribbon substrate; non-compliant materials are returned or downgraded.
• Workshop temperature and humidity control: temperature 22±2°C, humidity 50%±10%, effectively reducing static electricity and moisture deformation of materials. Install static elimination rods (AC or pulse type) at the position before unwinding and slitting.
• Adjust slitting parameters:
◦ Unwinding tension: The ribbon should be flat and not stretched; PET substrates are usually controlled at 8-15N/100mm in width.
◦ Slitting speed: Gradually increase from low speed (e.g., 80m/min), observe edge mass, and after finding the critical point, reduce it by 10-15% as a common speed.
• Check the winding pressure roller: Ensure the left and right pressures are consistent. By adjusting the pressure of cylinders or springs at both ends, you can measure with a pressure gauge.
4. Operational Standards and Training
• Establish Standard Operating Procedures (SOPs) to clarify tension, speed, and tool life management values for ribbons of different specifications.
• Before starting the machine, the "paper running method" (running through waste material empty) must be used to observe the misalignment and adjust all correction mechanisms.
• After each roll is cut, samples are taken immediately and used with a magnifying glass or projector to check edge neatness, with prompt feedback and adjustments upon discovery.

3. Rapid Inspection Process (for On-site Use)
When uneven edges appear, it is recommended to quickly check in the following order:
1. Observe the phenomenon: Are the edges of the entire roll uniform and uneven, or are they localized or periodically uneven?
◦ Consistent and uneven rolls → Check blade wear, bite amount, and guide roller parallelism.
◦ Periodic (occurs once per rotation) → Check whether the spindle/rewinding shaft bearings and blades have single point chipping.
2. Listen for sounds: Are there any abnormal friction or vibration sounds at the slitting area? → Check the contact status of bearings and blades.
3. Touching the edge: strong burrs? → Blade blunt or under-bite; Is there a hard edge protrusion? → Excessive bite or uneven pressure roller.
4. Check the roll core: Is the winding end face aligned on one side or uneven? → Uneven pressure on the winding roller or improper taper of winding tension.
5. Slowdown test: Reduce speed by 30%. If improvement → speed is too fast or dynamic balance is poor.
4. Conclusion
Irregular ribbon slitting edges are a comprehensive process issue, and there is no one-size-fits-all solution. The key lies in establishing systematic prevention and inspection mechanisms: regular equipment maintenance, scientific tool management, optimization of process parameters, and standardized operational procedures. For companies, investing in a high-precision blade and installing an online visual inspection system (real-time edge monitoring) may increase costs in the short term, but in the long run, it can significantly reduce defect rates and improve product consistency. Remember: neat edges are the result of the careful collaboration of every part of the slitting machine. When problems arise, calm down and carefully inspect the four key elements—knife, shaft, roller, and tension—to resolve most edge imbalances.

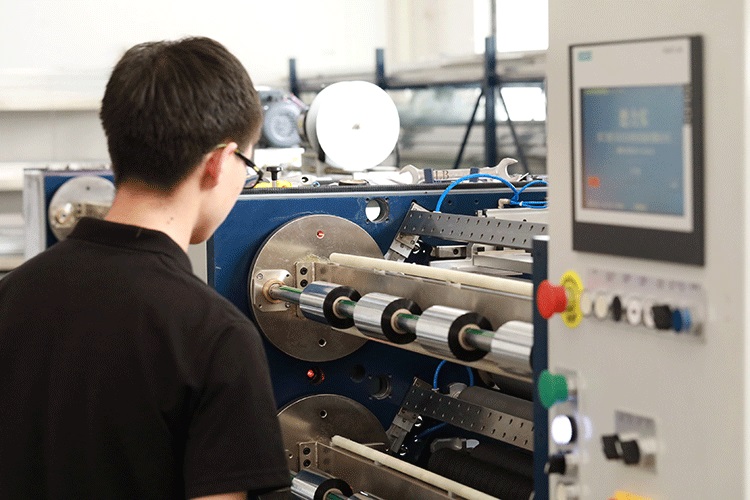
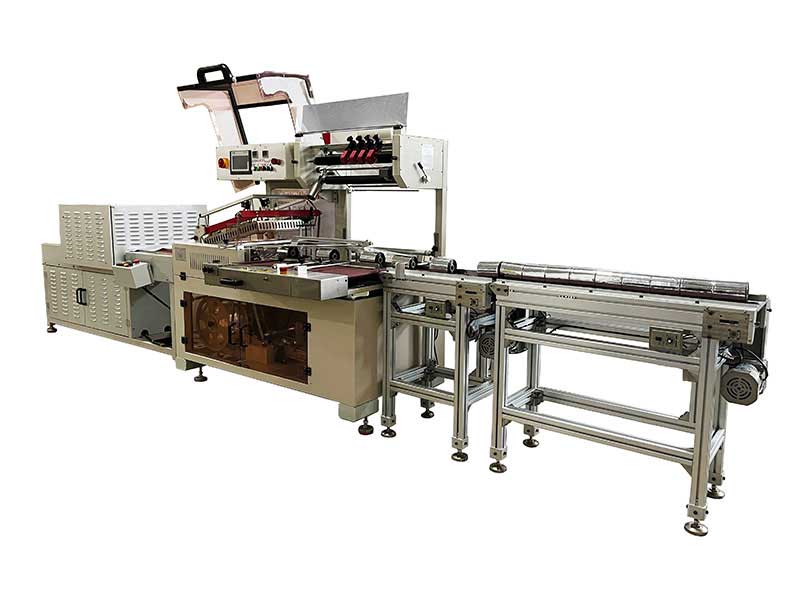 Thermal Transfer Ribbons Packaging Machine
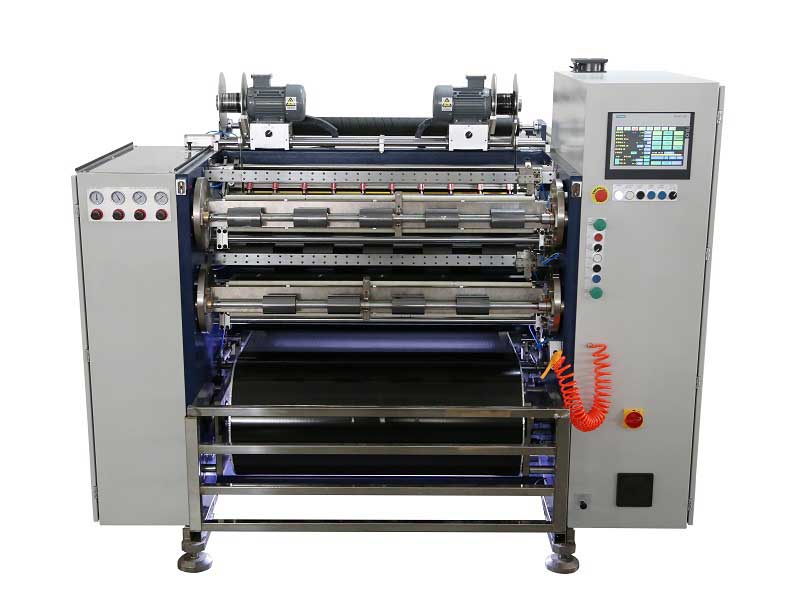 Automatic Thermal Transfer Ribbon Slitting Machine RSDS8 H PLUS
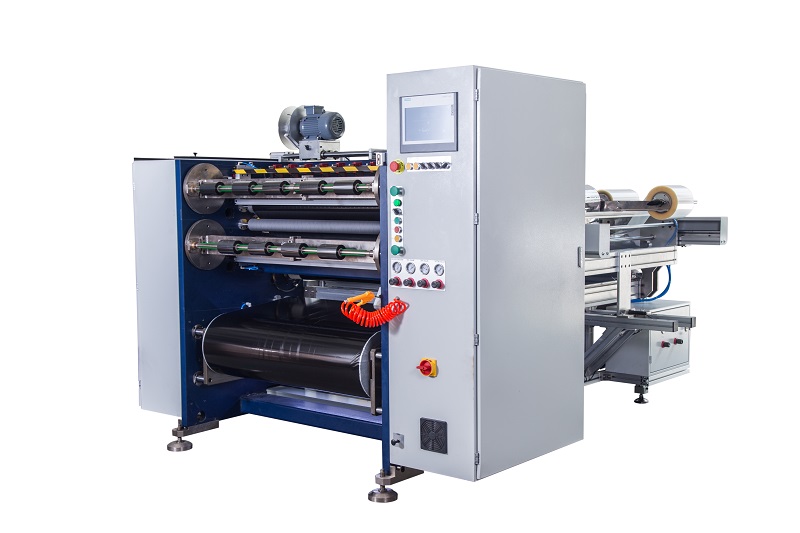 Semi Automatic Thermal Transfer Ribbon Slitting Machine RSDS5 PLUS
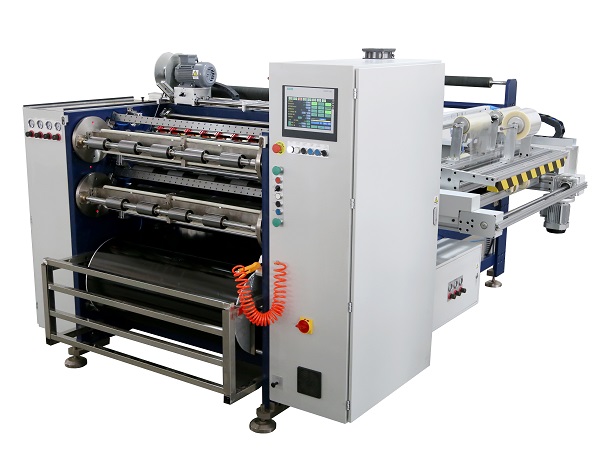 Automatic Thermal Transfer Ribbon Slitting Machine RSDS8 PLUS
 Barcode Ribbon Slitting Machine
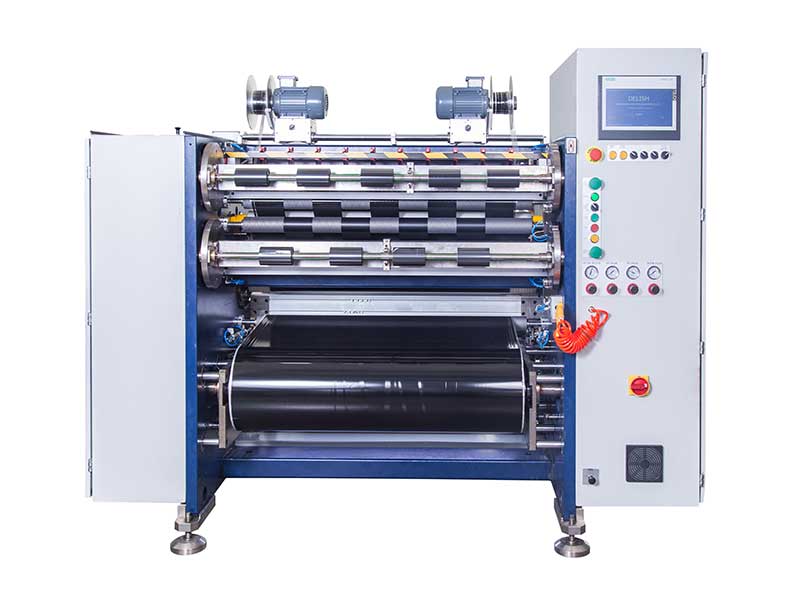 TTR Slitting Machine
 Ribbon Slitting Machine
 Automatic Thermal Transfer Ribbon Slitting Machine RSDS6 PLUS


 +86 135 9951 7291
 support@delishmachine.com