The difficulty in operating the hot stamping foil slitting machine is not "knowing how to turn it on," but "cutting steadily, collecting neatly, and preventing burrs." Hot stamping foil has a thin substrate and brittle coating, making it highly sensitive to tension, cutting tools, and static electricity. Switching to a different foil material for the same equipment may result in completely different parameter logic. The following unfolds along two lines: practical steps and key techniques, balancing beginner entry points with common problem prediction and handling.
1. "Veto" before startup: Safety and status confirmation
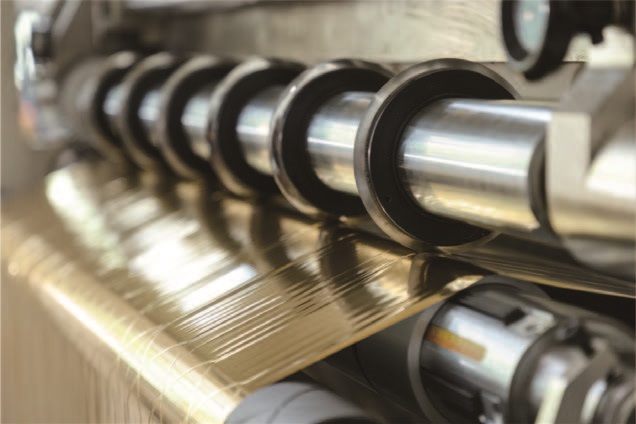
In the operating standards for slitting machines, safety has veto power. The hot stamping foil slitting machine has multiple bite points and high-speed rotating parts; it is strictly forbidden to operate the rotating shaft while wearing gloves. Long hair must be tucked into the hat and cuffs tightly bound. This is not a formality—the foil foil is extremely thin, and once gloves or clothing get caught in it, there is often no time to stop abruptly.
Equipment status confirmation focuses on three points: tools, air pressure, and emergency stop. Check for chipping on the edge of round or flat blades; even tiny chips can develop into periodic burrs or foil breakage at high speeds; The air pressure in the air passage usually needs to reach 0.5–0.7 MPa. Insufficient air pressure will cause insufficient clamping force in the chuck, causing the spindle to move during operation; The emergency stop button must be pressed once to confirm that the main drive can be cut.
2. Feeding and film penetration: The path is more important than the force
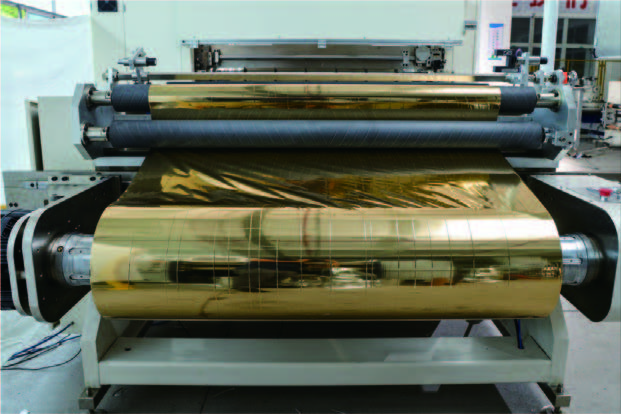
The core of the material is centering. After installing the roller on the reel, the chuck must be locked and the centering device adjusted so that the center of the foil roll aligns with the centerline of the equipment. Eccentric main rolls show no abnormalities at low speeds, but once speed increases, the winding tension periodically fluctuates, directly manifesting as a "tower-shaped" or "flared" rewinding end face.
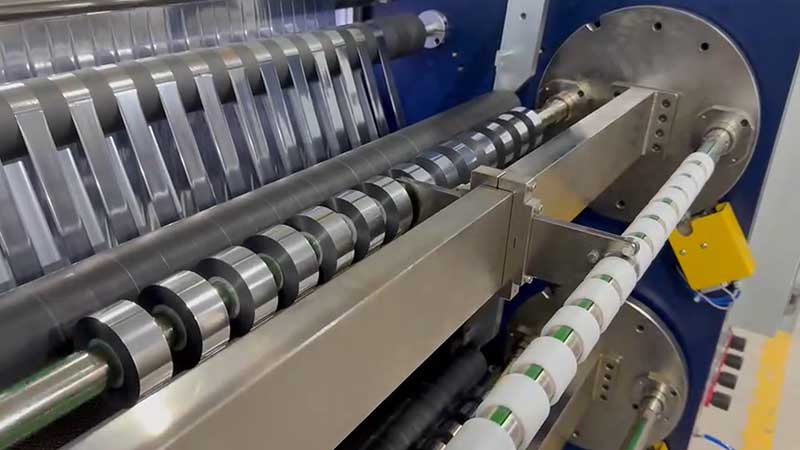
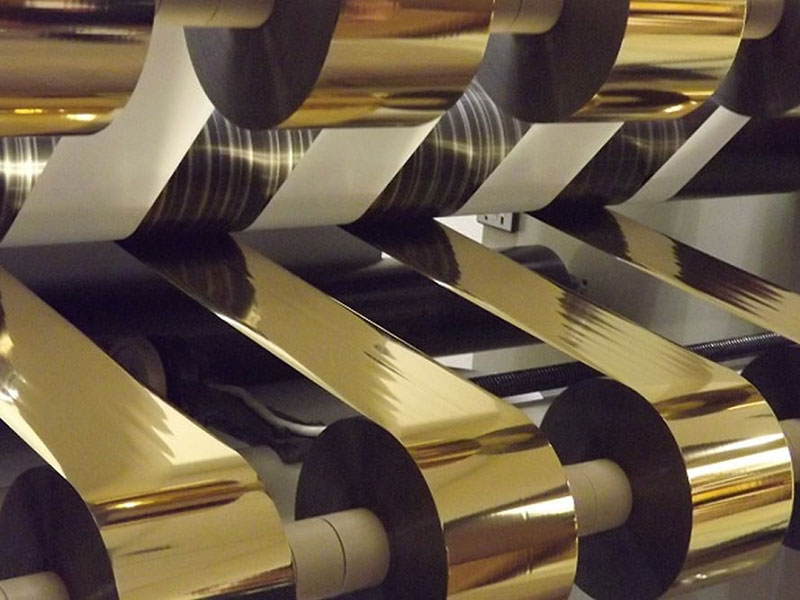
The film penetration path varies slightly by model, but the general sequence is: unwinding guide roller → tension detection roller → slitting blade group → winding guide roller. Keep the foil flat during film penetration, without twisting or flipping. Stick the material tip flat to the winding core tube with tape, applying two to three spots. If the tape is too thick, local bumps may form during the initial winding stage, which are difficult to remove once pressed into the inner layer.
3. Parameter settings: Tension is the soul, speed is the safeguard
In the parameter logic of hot stamping foil slitting, tension takes precedence over speed. A common mistake for beginners is to copy the maximum speed on the equipment nameplate without overlooking the matching tension and foil material.
Tension setting follows the principle of "small over large, low first, then toned." Taking common thin hot stamping foil as an example, the reference value for winding tension is between 20–50N, with fine-tuning depending on the thickness and width of the foil material. For more precise settings, refer to material characteristics: PET base hot stamping foil has higher tensile strength and slightly greater tension; Paper-based foil is prone to stretch deformation and must be kept under low tension and constant; Transfer foil and laser foil are highly sensitive to tension fluctuations, so it is recommended to enable closed-loop tension control. The winding tension is usually 10%–15% lower than the winding tension, and a taper reduction of 15%–25% is set to compensate for the outer extrusion caused by the increased coil diameter.
It is recommended to control the starting slitting speed between 30–50 meters per minute. The purpose of low-speed trial cutting is not to pursue yield, but to provide operators with a window to observe: check whether the cut is neat, whether there is any abnormal noise on the blade shaft, and whether the winding end face is flat. After confirming everything is correct, the speed is increased step by step, with each acceleration not exceeding 20 meters per minute.
Cutting distance must be adjusted in a fully stopped state. The blade clearance is generally set at 10%–15% of the foil thickness; if too tight, it accelerates wear; if too loose, it cannot cut and causes pulling burrs. After tool adjustment, use a caliper to measure the spacing between tool holders, and check with a jog to ensure the tool shaft does not shift.
4. Trial cutting and first piece confirmation: Stopping is more important than running
The trial cutting stage before formal mass production is the dividing line between skilled and blind operations. After jogging for 1–2 meters, stop immediately and take out the sample to inspect three indicators: cut, width, and surface.
The cut should be neat, free of jagged burrs, and free of brushing or aluminum powder detachment. If burrs occur, prioritize checking the blade's sharpness and gap rather than rushing to adjust tension—90% of sudden burrs can be resolved by tool change. Width is measured with calipers, with errors usually controlled within ±0.5mm. Surface inspection focuses on checking for roller indentations or electrostatic adsorption of foil chips, which can cause dirty spots during subsequent stamping.
After passing the trial cut, operators must not leave their posts during the first roll operation. Faults in hot stamping foil slitting are often concentrated during the acceleration phase: changes in tension gradient, delayed correction response, and increased static accumulation—all amplified after speeding up.
5. Rapid Assessment and Handling of High-Frequency Issues
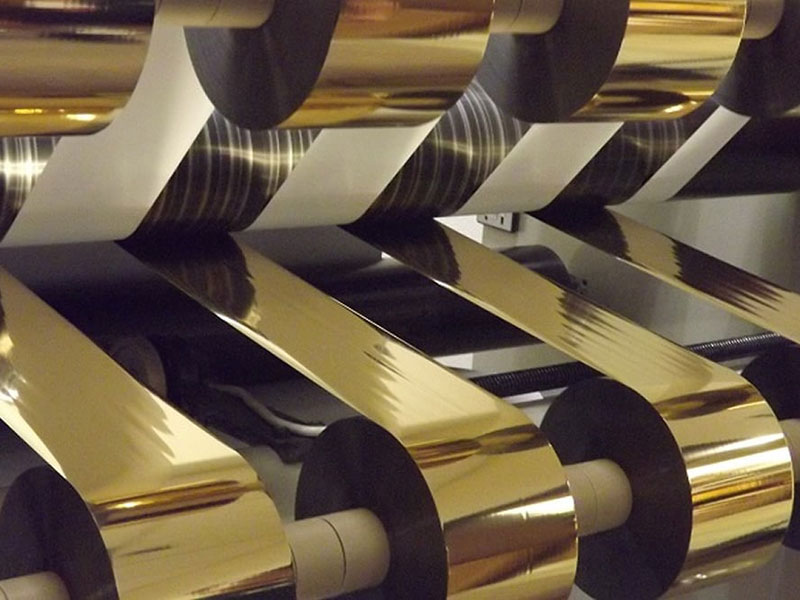
Burrs and brushing: First, look at the blade edge. Use a magnifying glass to observe the blade for chipping; if your finger feels dull to lightly touch it, you need to replace the blade. If the tool is in good condition, check whether the gap is too large; it is recommended to set the thin foil gap at 1.2–1.5 times the material thickness. Static electricity is also a hidden pusher; installing ion air bars in front and behind the tool holder can significantly improve it.
Broken foil: Regularly breaks at the cutting edge, usually due to excessive knife pressure or a notch on the blade, causing microcracks to form at the cut and then spreading and breaking under tension; For random foil breaks, prioritize lowering the tension to check if the magnetic powder brake output is unstable.
Uneven winding end face: first rule out the most common cause of the correction sensor being obstructed by foil debris, then check the parallelism of each guide roller (tolerance ≤ 0.5mm/m). If both the tool and correction are normal, gradually fine-tune the winding taper to allow most end face issues to converge at this step.
6. Wrapping up and daily habits
When unloading, place gently on the tray to avoid damaging the roll ends. Label with specifications, meters, and date for easy traceability. After each shift, clean aluminum powder and glue stains on the blade holder and guide roller surfaces. Foil shavings accumulate to a certain extent and can scratch subsequent foil surfaces, forming hidden scrap.
What truly widens the gap in operational skill isn't how many parameters you remember, but establishing a sorting sequence of "stop before watching, slow before fast, knife before tension." Quality defects in hot stamping foil slitting are rarely caused by a single cause: burrs cause debris buildup, debris leads to misalignment, and misalignment further increases wear on one side—creating a vicious cycle. The way to interrupt it is always to stop at the first step and clean it up.
 English
 Deutsch
 Français
 Español
 Português
 日本語
 русский
 한국어
 عربي
 ภาษาไทย
 Tiếng Việt
 Italiano
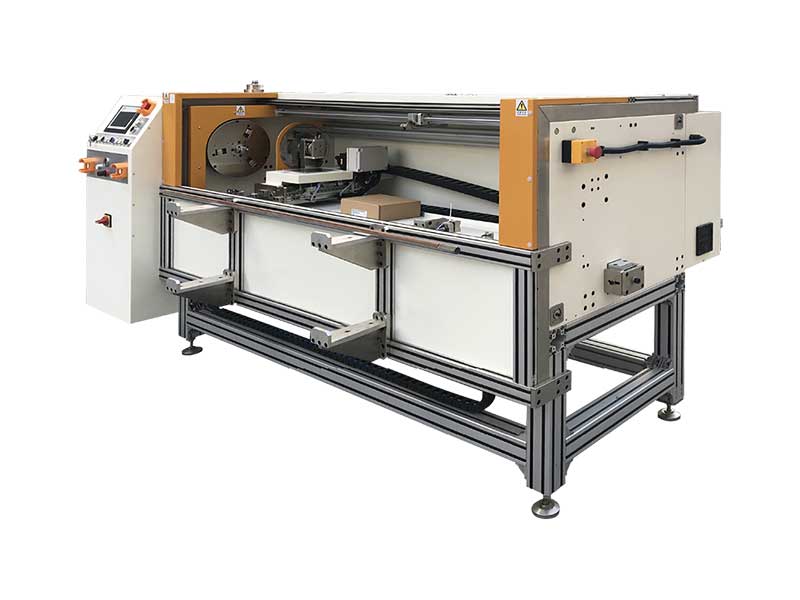 Automatic Foil Roll Cutting Machine
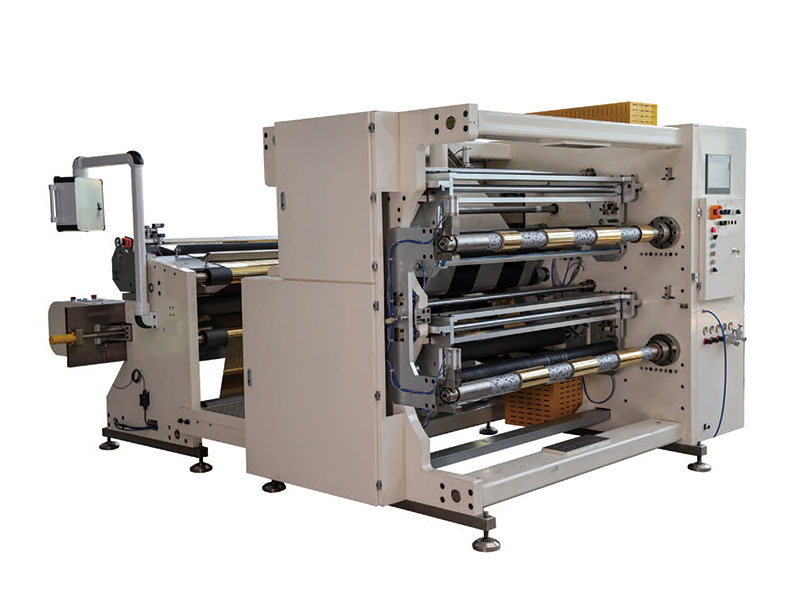 1400mm Hot Stamping Foil Slitting Machine
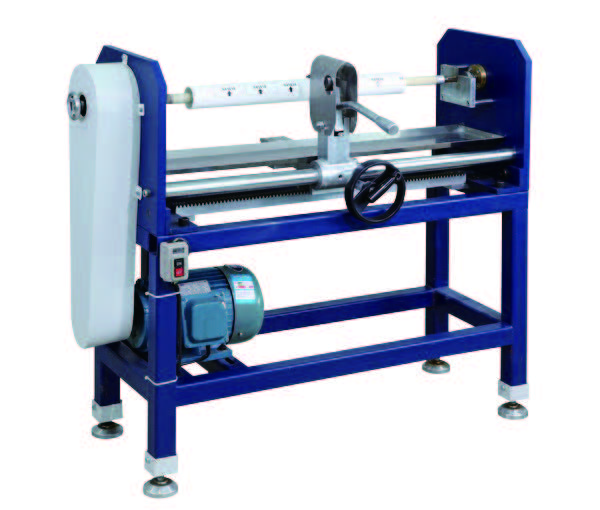 Manual Foil Roll Cutting Machine
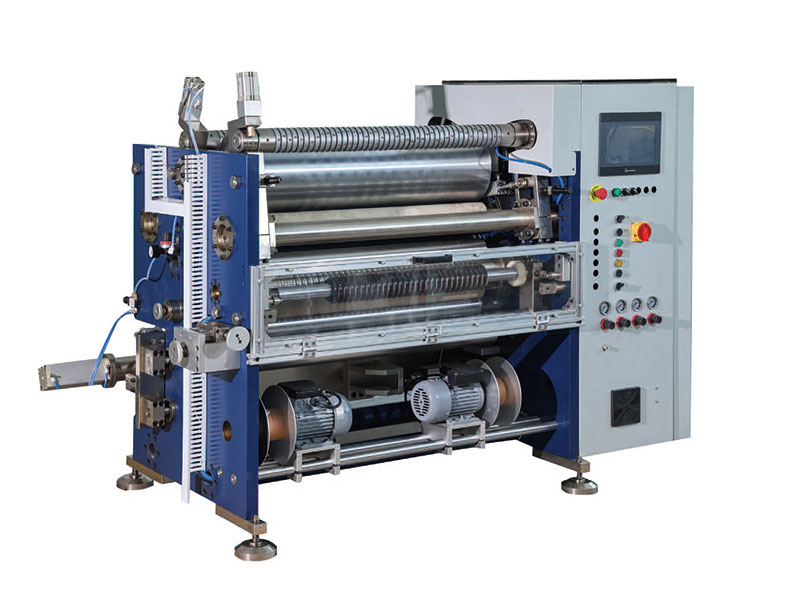 800mm Hot Stamping Foil Slitting Machine
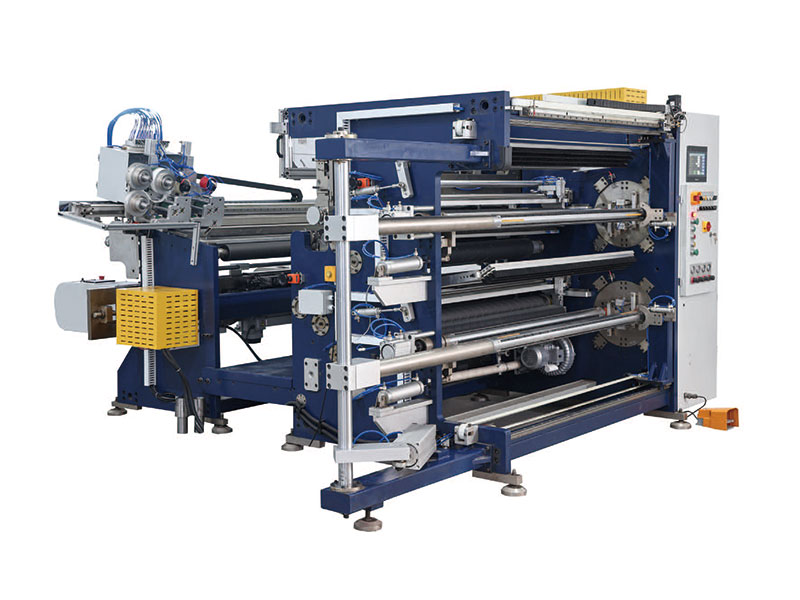 1350mm Hot Stamping Foil Slitting Machine
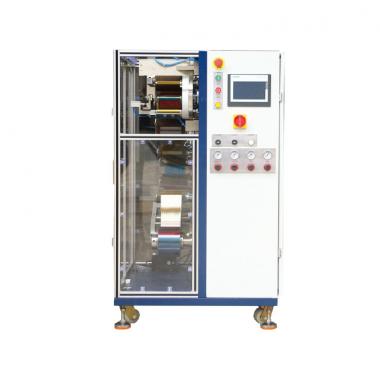 Photo & Card Print Ribbon Rewinding Machine
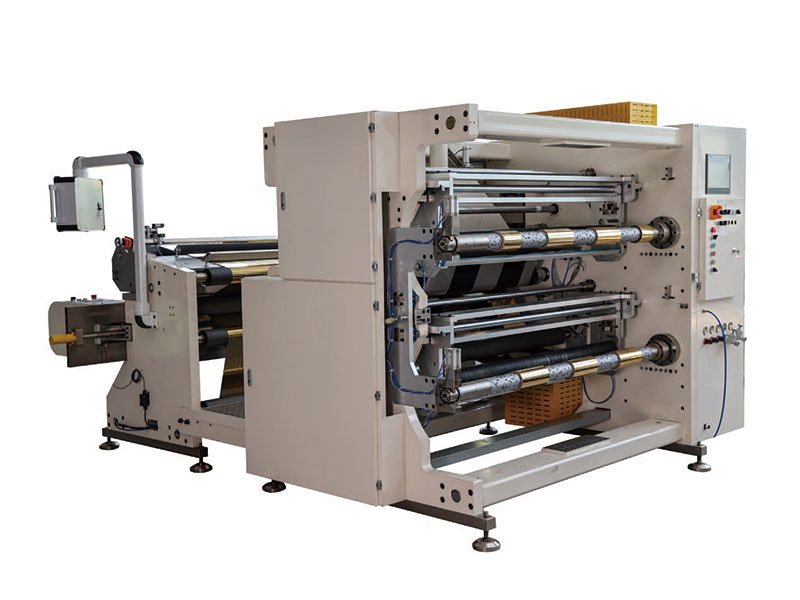 1400mm Copper Foil Slitting Machine
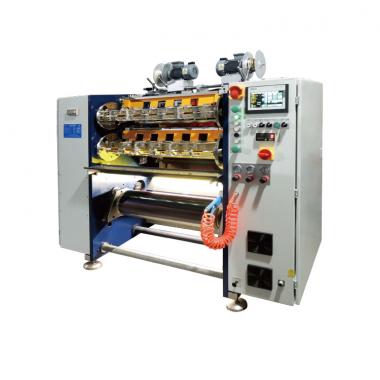 Photo & Card Print Ribbon Slitting Machine


 +86 135 9951 7291
 support@delishmachine.com
